Things have been pretty busy around here! Over the last few weeks J has spent most of his free time working in the backyard, moving a butterfly garden and assembling a swing set for our daughter’s 3rd birthday. I was busy with birthday party planning and now doctor appointments as we prepare for baby #2 who is set to arrive in 2 weeks. Our weekends have been jam packed and this weekend we started yet another project – painting the exterior shutters of our house! We’ll have plenty to share from our outdoor projects but for now let’s talk about our master bedroom.
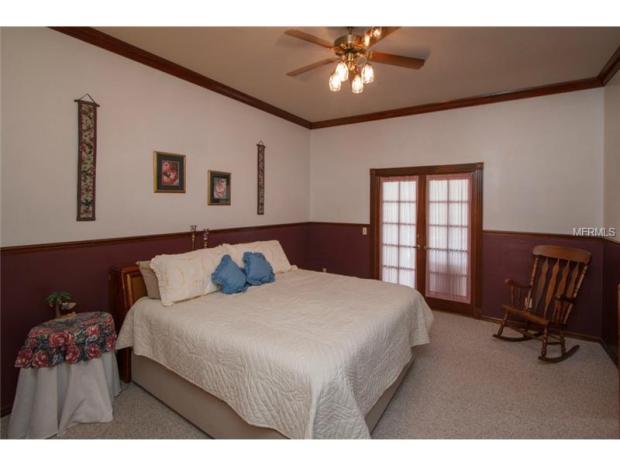
When we first laid eyes on our home we fell in love with all of the main living areas. The house had a lot of character and charm and we were quickly able to see the potential there was for us to turn the place into our dream home. Unfortunately the master bedroom didn’t leave us with the same impression and walking into the master bathroom was even more disappointing. Eventually the master bathroom will need a professional renovation. We’re using the space as storage in the meantime and to be frank, I like to pretend that the bathroom doesn’t exist…for now :)
Even though the master suite didn’t leave us jumping for joy there were still pros like the crown molding and the french doors. It’s not a huge room but the master bedroom is larger than our last one so that was a plus as well. We’re pretty sure that the master suite (especially the original master bathroom complete with carpeting) was a huge turnoff to other buyers. In time we hope to transform these two spaces into our favorite rooms in the house.
The Master Bathroom (yikes!!!)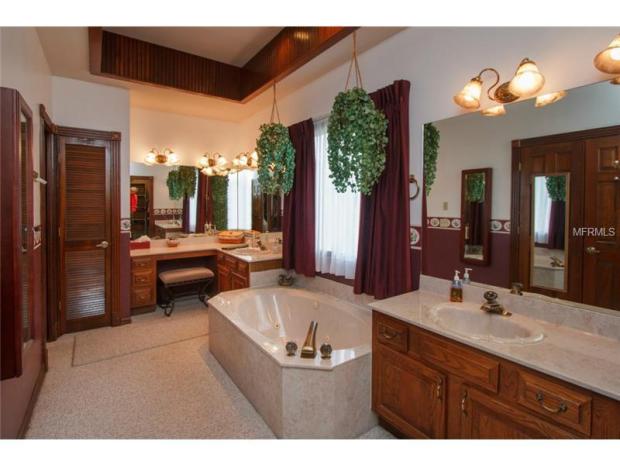
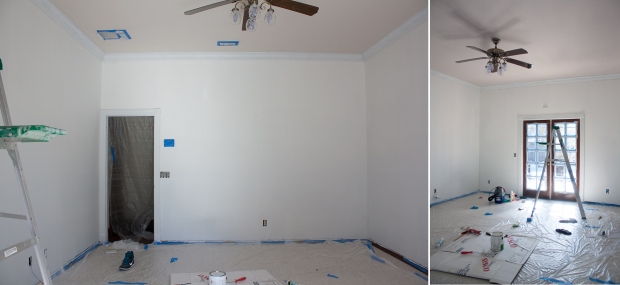
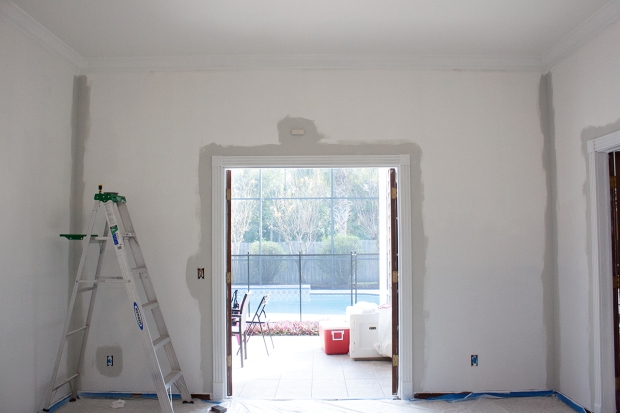
J’s Dad actually started this project for us by removing the chair railing in the bedroom. That alone was a great improvement as the ceilings instantly appeared taller once it was removed. After its removal the walls needed A LOT of spackle and a thorough sanding. The crown molding, door frames and french doors also needed to be sanded as well to prep them for priming. We used the same method as the rest of the house for sanding and cleaning all of the wood surfaces (sand with medium grit sandpaper, Krud Kutter Degreaser followed by Krud Kutter Gloss Off). Once all of the wood trim and walls were prepped everything was primed with Kilz Premium No Voc Primer.
After priming we realized how badly the ceiling needed a fresh coat of paint (it was casting pink) so J applied two coats of Benjamin Moore Natura in Simply White/Flat Finish.
We chose Benjamin Moore’s Natura in Gray Owl/Flat Finish for the walls and Benjamin Moore’s Natura Simply White/Semi Gloss Finish for the trim.
Progress:
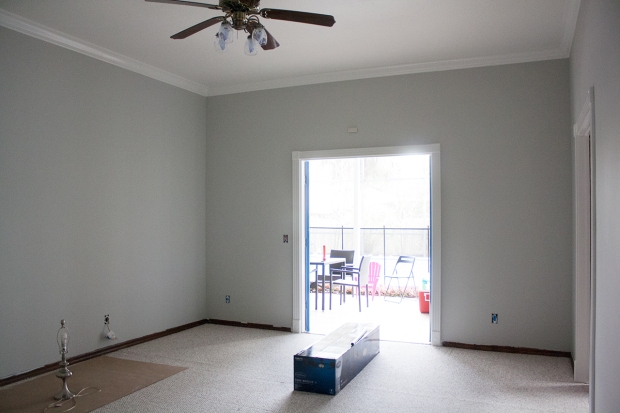
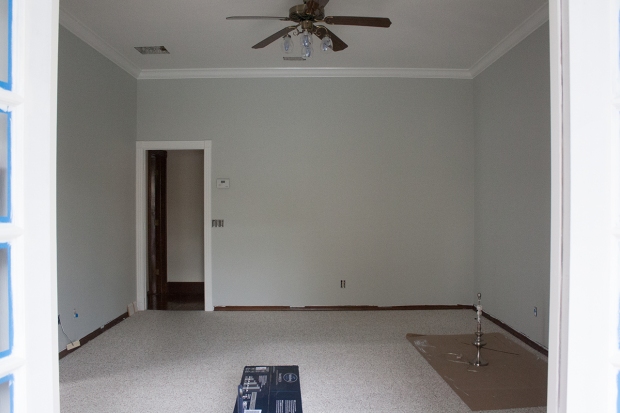
After everything was primed and painted the bedroom looked like this:
As much as we would have LOVED to rip up all of the carpeting in the house we don’t have the money or time to replace all of the flooring right now. We decided it would be best for us to leave the carpeted areas alone until we could either afford to match the existing hardwood in the rest of the house or find carpeting that we really like.
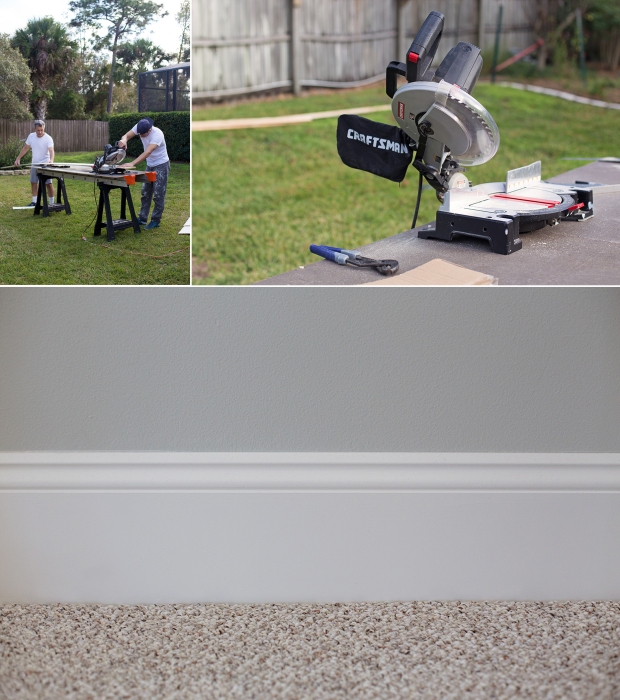
We left the original baseboards in place while we painted. After the room was painted the old baseboards were removed and replaced with new 7 inch baseboards that matched the base molding in the rest of the house. We were lucky to find the matching profile at Lowe’s. J cut the baseboard using his Craftsman Miter/Chop Saw. Once everything was cut to size, J’s Dad applied a coat of Benjamin Moore’s Natura in Simply White/Semi Gloss. Once the first coat of paint dried the baseboards were installed, caulked and given a quick final coat of paint. I’ve always loved high baseboards so even though the carpet had to stay I was a happy duck.
We also installed a new ceiling fan. A little bit of function over fashion.
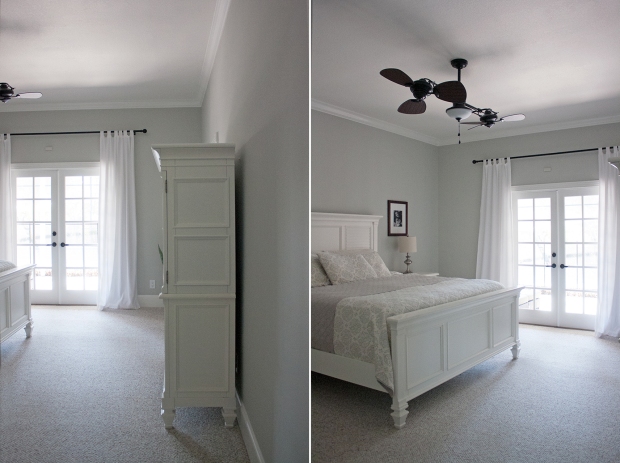
After weeks of airing out it was finally time to move in our bedroom furniture! We moved in our king size bedroom set, nightstands and armoire and hung up a pair of extra curtains that we had for privacy at night. Our bedroom furniture, lamps and bedding are all from our townhouse.
Just like the other rooms in the house, painting has really transformed the look and feel of the bedroom. I’m bound to say it 100 times but it’s really amazing what good prep work and a few cans of paint can do! I can’t even remember what the bedroom used to look like. There’s still much to be done in the bedroom (and the rest of the house!) but thanks to J and his Dad we’re off to a pretty good start.
Where is your bedding from ?.We just painted our bedroom gray owl and your bedding is perfect with that color.thanks
LikeLike
Hi Jeanne! The bedding was actually from Target. We bought the quilt and pillowcases in 2012 so I’m not sure if they still sell it. I hope that helps!
LikeLike